Cornell University
Cornell Maker Club

Project Documentation

Show off your build. Here’s how to make a free website for your project with GitHub Pages, what to put on it, and two templates to start from.

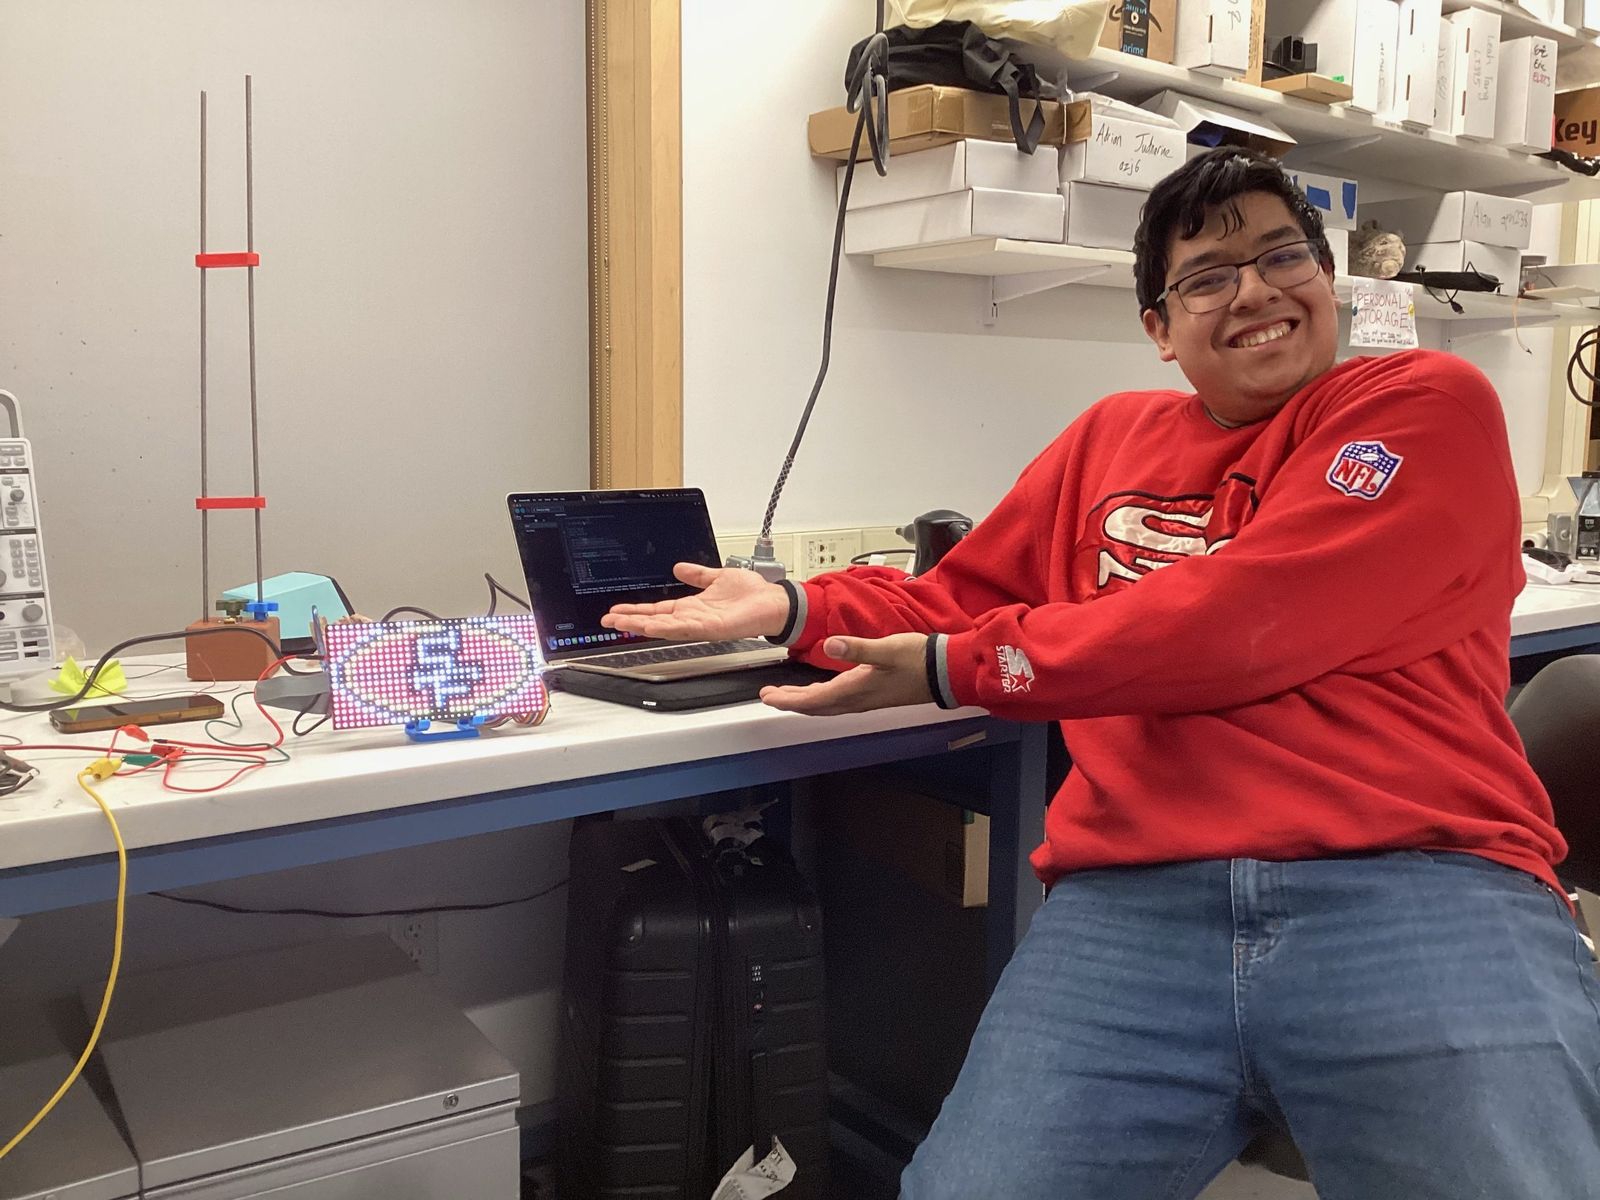
A member presenting the LED matrix display he built

Why document?

A project page is the best way to show your work to recruiters and interviewers, and it helps the next member who wants to build something similar. If you ordered more than about $100 in parts, it’s also a great home for your project video.

Start from a template

Both templates are free to copy. Pick one and you’ll have your own copy in seconds.

Easiest · no coding

Simple project page

Write your page in Markdown, a plain-text format with simple symbols for headings, lists and images. GitHub turns it into a clean website for you. Best for most projects.

Full control · HTML and CSS

Custom project site

A ready-made page with sections for every part of your write-up. Edit the HTML and CSS to change anything about how it looks. Best if you want to design your own site.

Make your site

  1. Make a free GitHub account. Students can also apply for the GitHub Student Developer Pack.
  2. Open one of the templates above and click Use this template → Create a new repository. Give it a short name, like smart-plant-pot, and make it Public.
  3. Edit your page right in the browser: open a file, click the pencil icon, make your changes and click Commit changes. Add photos with Add file → Upload files into the images folder.
  4. Go to Settings → Pages. Under Build and deployment, choose Deploy from a branch, pick main and / (root), and click Save.
  5. After a minute or two your site is live at https://your-username.github.io/your-repo-name/. The link also appears at the top of the Pages settings.
  6. Share it! Post the link on the Maker Club Slack, add it to your résumé, and send it to us so we can feature it on the Projects page.

What to include

  1. Overview. What you built and why, in two or three sentences, with your best photo or a short video at the top.
  2. Demo. A video or GIF of it working. Upload long videos to YouTube and embed them.
  3. Parts list. Every component with quantity, cost and where you bought it. A table works best.
  4. Design. Schematics, wiring diagrams, CAD screenshots or files, and the key decisions you made.
  5. Build log. The steps in order, with photos, including what went wrong and how you fixed it.
  6. Code and files. A link to your code repository and any CAD or PCB files someone would need to rebuild it.
  7. Results. How well it works, what you learned and what you would do differently next time.
  8. Credits. Teammates, anyone who helped, and a note that it was built at the Cornell Maker Club.

Tips

  • Shrink photos before uploading. Under 1 MB each keeps your page fast; phone photos are often 5 MB or more.
  • Keep videos on YouTube and embed them. GitHub isn’t built for large video files.
  • Document as you go. Snap photos at each step. It’s much harder to remember what you did after it’s finished.
  • Leave out private information like your phone number, CUID or home address. Everything in a public repository can be seen by anyone.
  • Add a license if you want others to reuse your design. choosealicense.com explains the options.